Tips
How to Compress a GIF for Discord (and Other Size Limits)
2026-09-15 · 7 min readHit Discord, email, and CMS size caps by compressing GIFs locally—resize, skip frames, and cut the palette without uploading.
Read more → NanoImage Home
Tips, guides, and updates for everyday image tasks.
Hit Discord, email, and CMS size caps by compressing GIFs locally—resize, skip frames, and cut the palette without uploading.
Read more →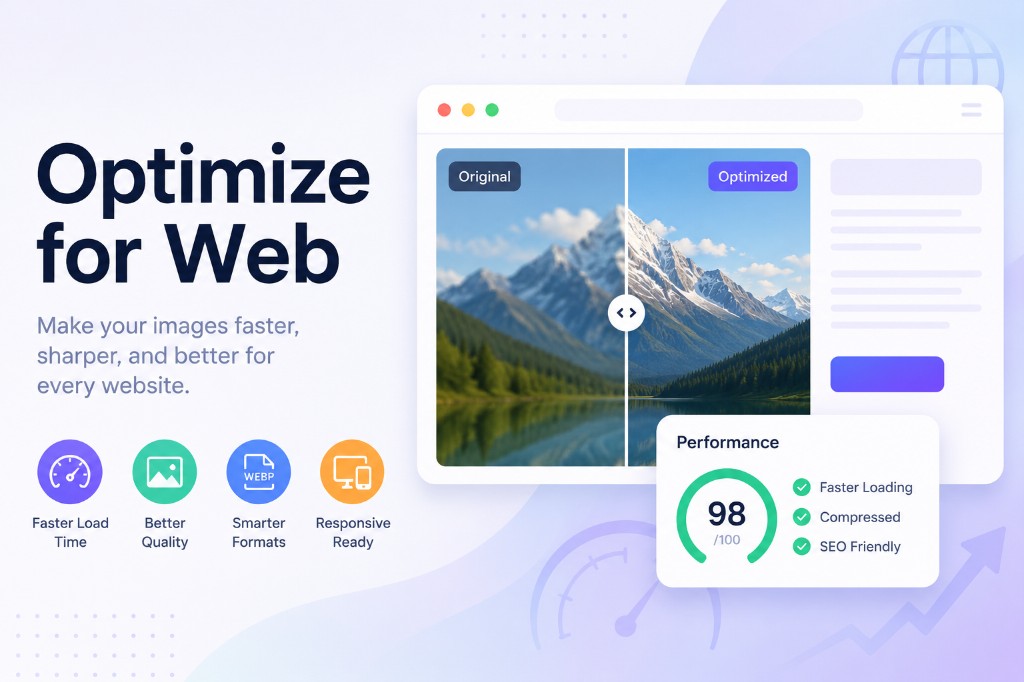
Learn how to optimize images for faster websites with compression, resizing, WebP conversion, and privacy-friendly browser-based tools.
Read more →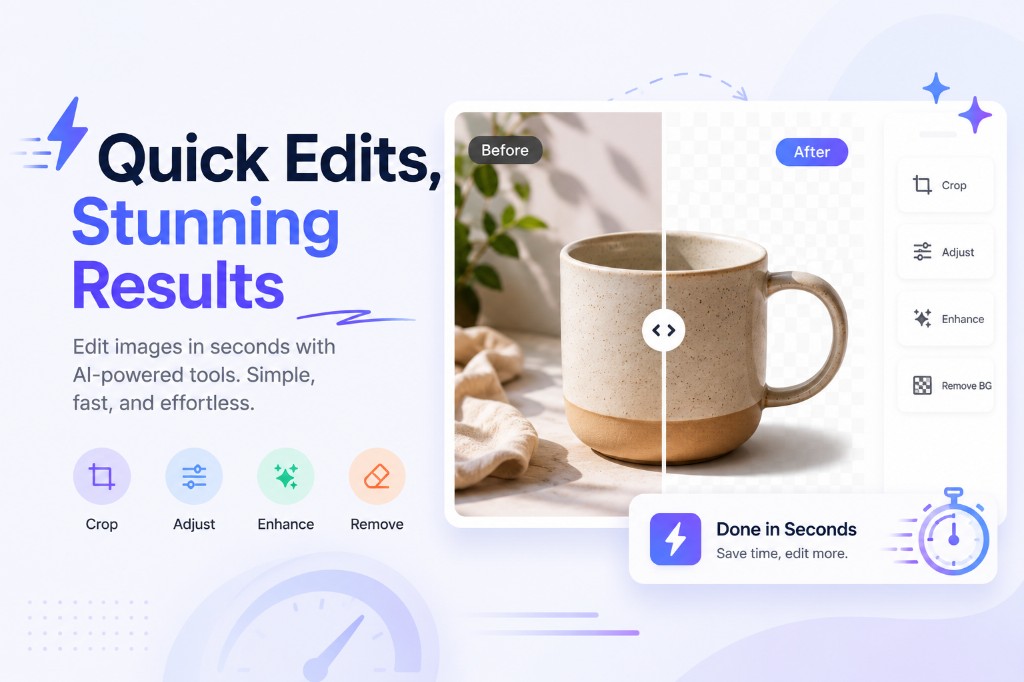
A simple guide to quick online image edits, including cropping, rotating, flipping, adding text, changing backgrounds, and preparing images for sharing.
Read more →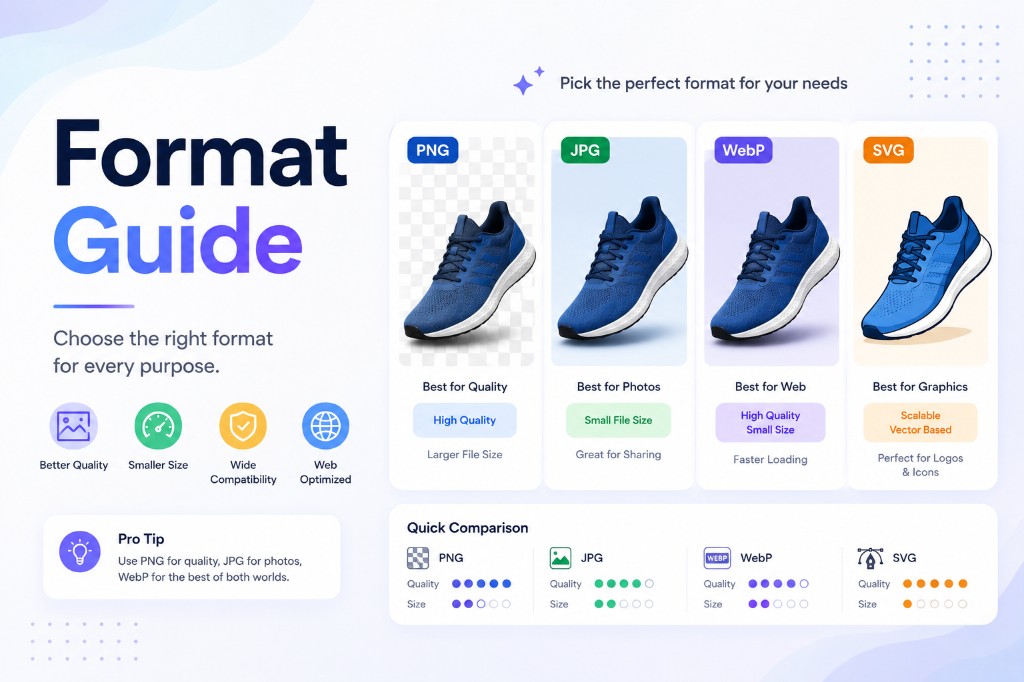
Learn when to use JPG, PNG, WebP, AVIF, GIF, and PDF, and how to choose the best image format for websites, documents, and sharing.
Read more →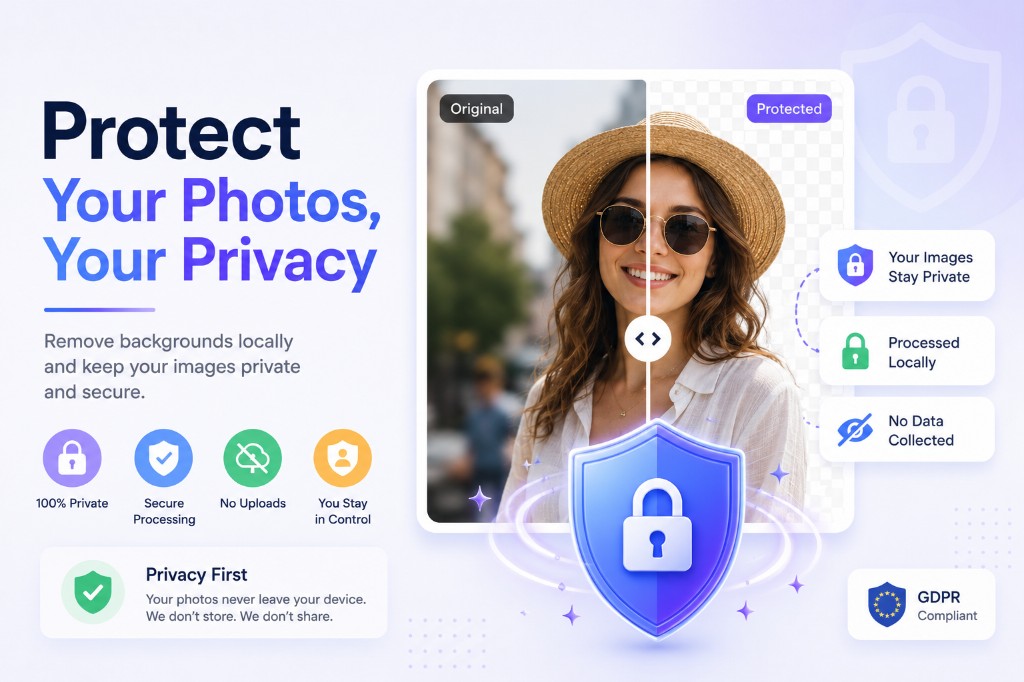
Learn how to protect photos before sharing them online by removing metadata, blurring sensitive details, pixelating private areas, and adding watermarks.
Read more →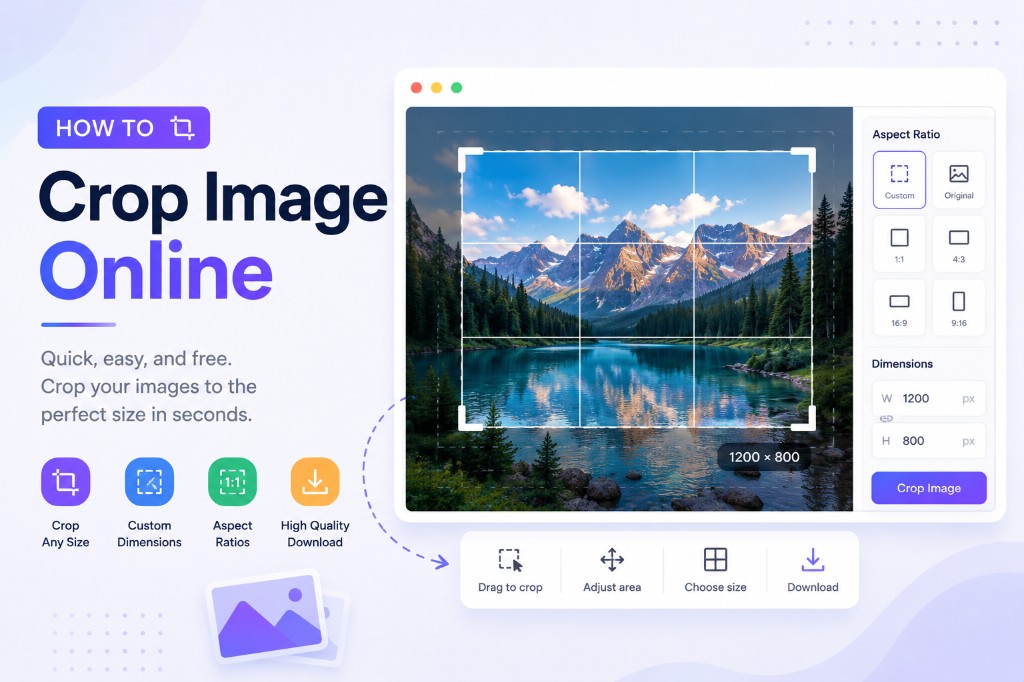
Crop photos by exact pixels, aspect ratio, or freehand — right in your browser, with nothing uploaded to a server.
Read more →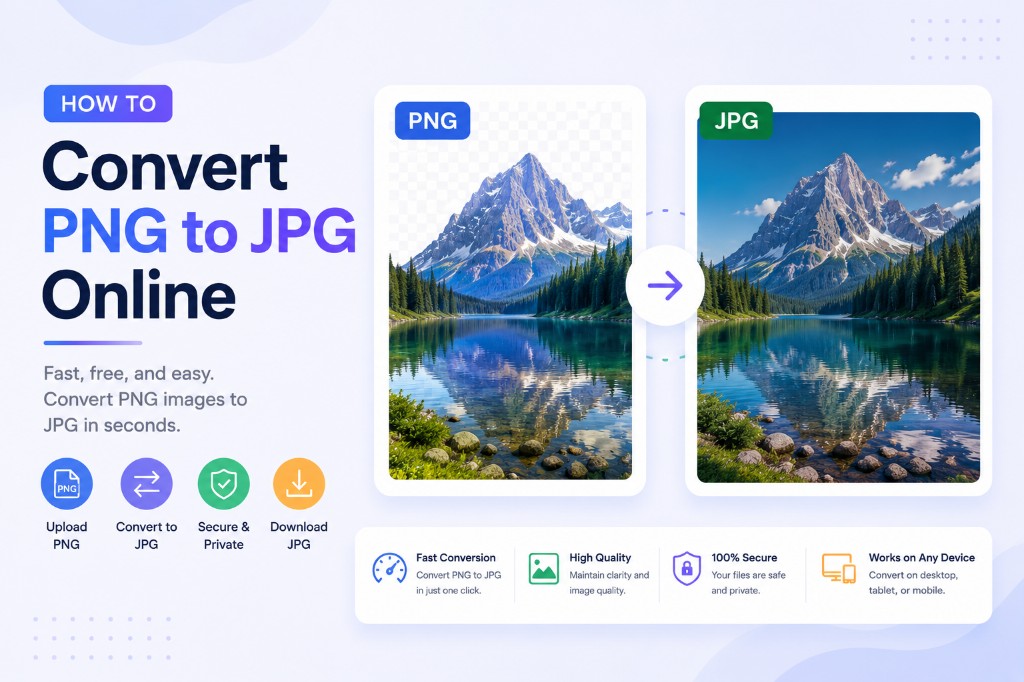
Convert PNG to JPG in your browser — free, private, batch up to 20 files, with quality control and no upload.
Read more →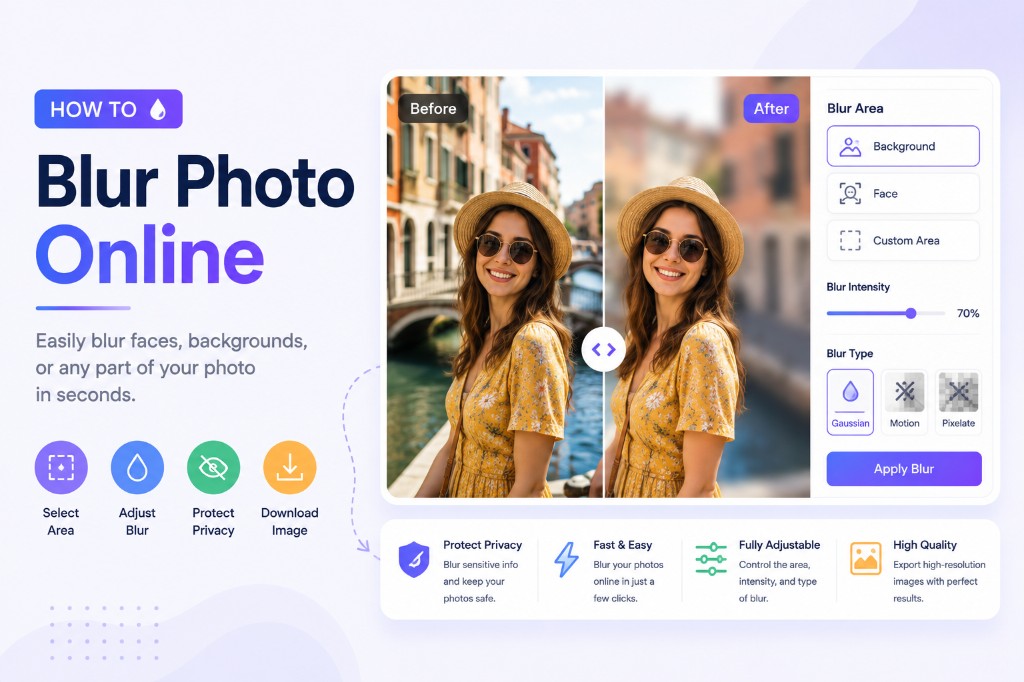
Blur faces, license plates, addresses, or any region of an image — free, in your browser, with nothing uploaded.
Read more →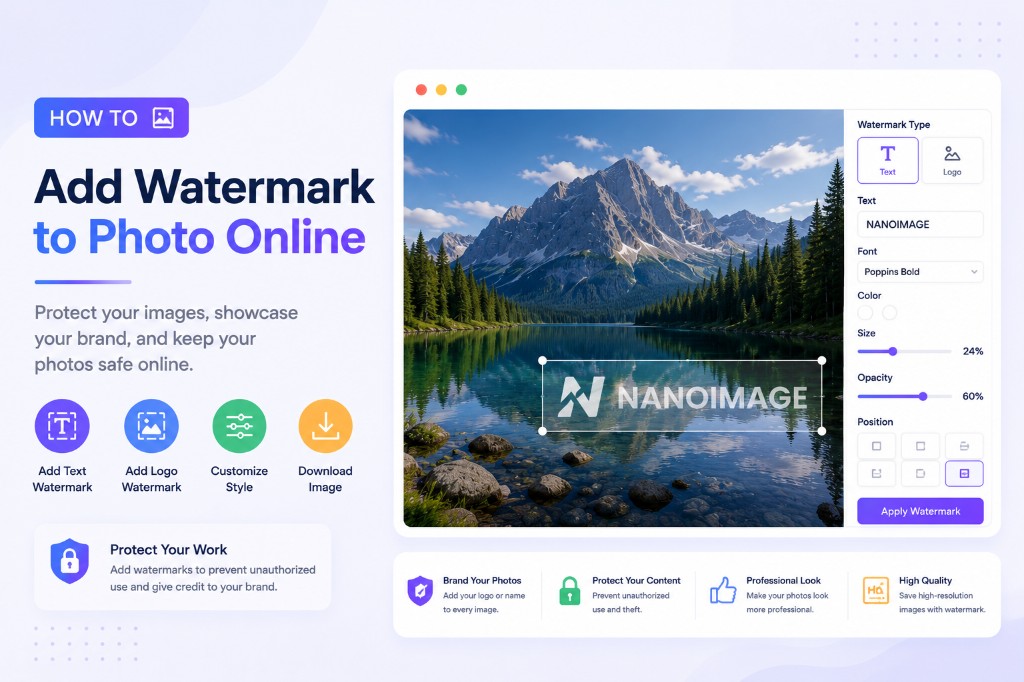
Protect your photos with a text or logo watermark — positioned, styled, and exported in your browser for free.
Read more →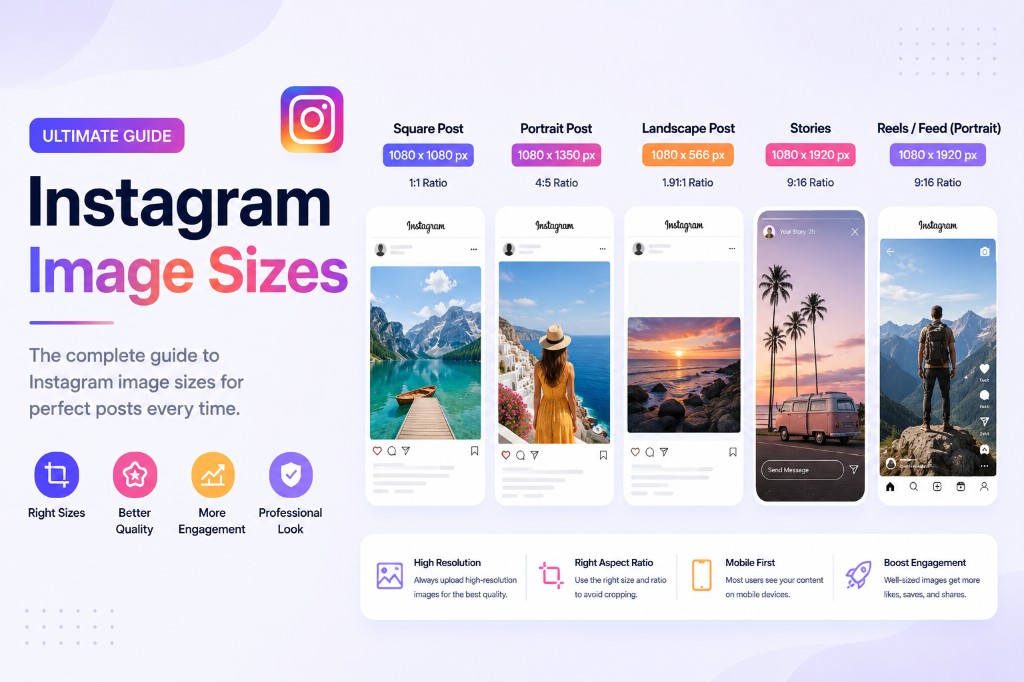
Current Instagram dimensions: 3:4 posts, the new grid preview, Stories, Reels, and profile pictures — with exact pixels.
Read more →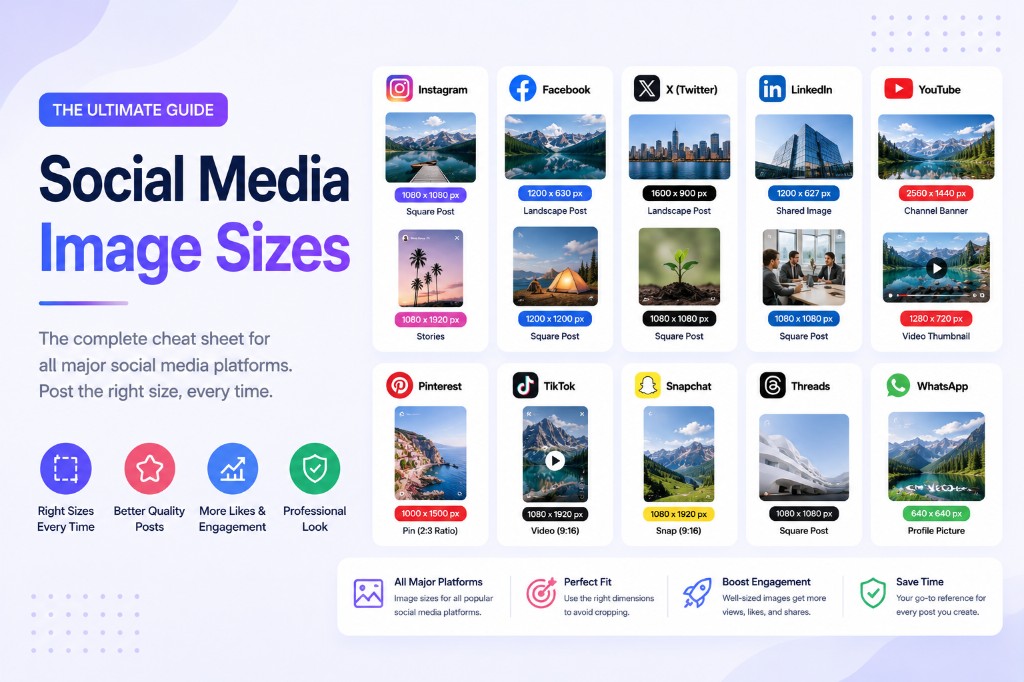
Exact 2026 image dimensions for Instagram, TikTok, YouTube, X, Facebook, LinkedIn, and Pinterest — plus a fast resize workflow.
Read more →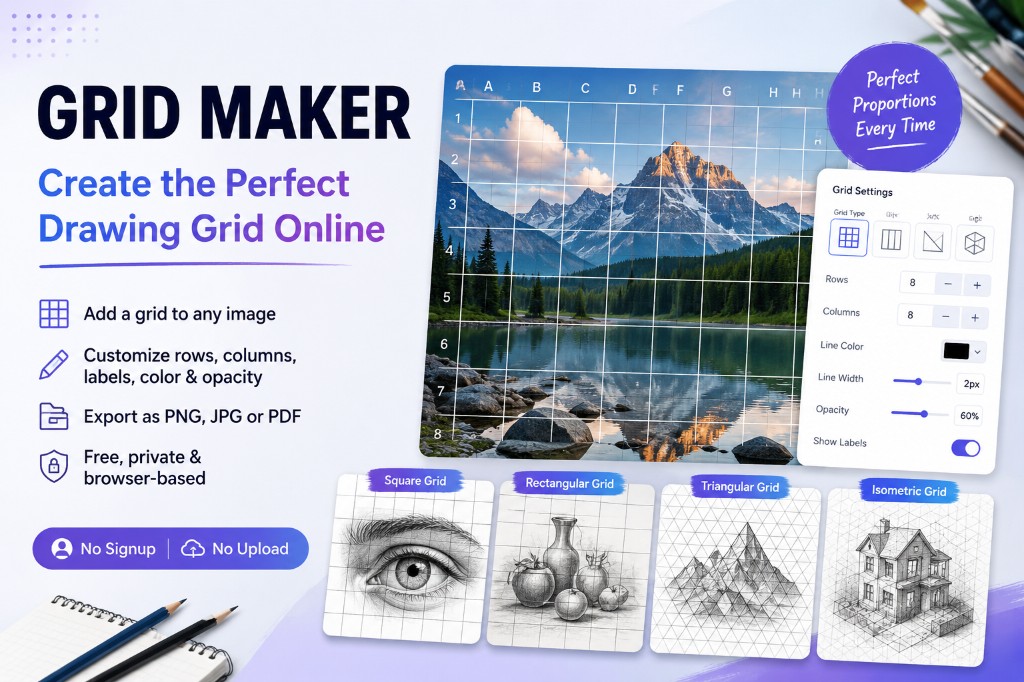
Learn how an online Grid Maker helps artists, students, and teachers add drawing grids to reference images, create printable blank grids, and use the grid method for portraits, copying, murals, and classroom practice.
Read more →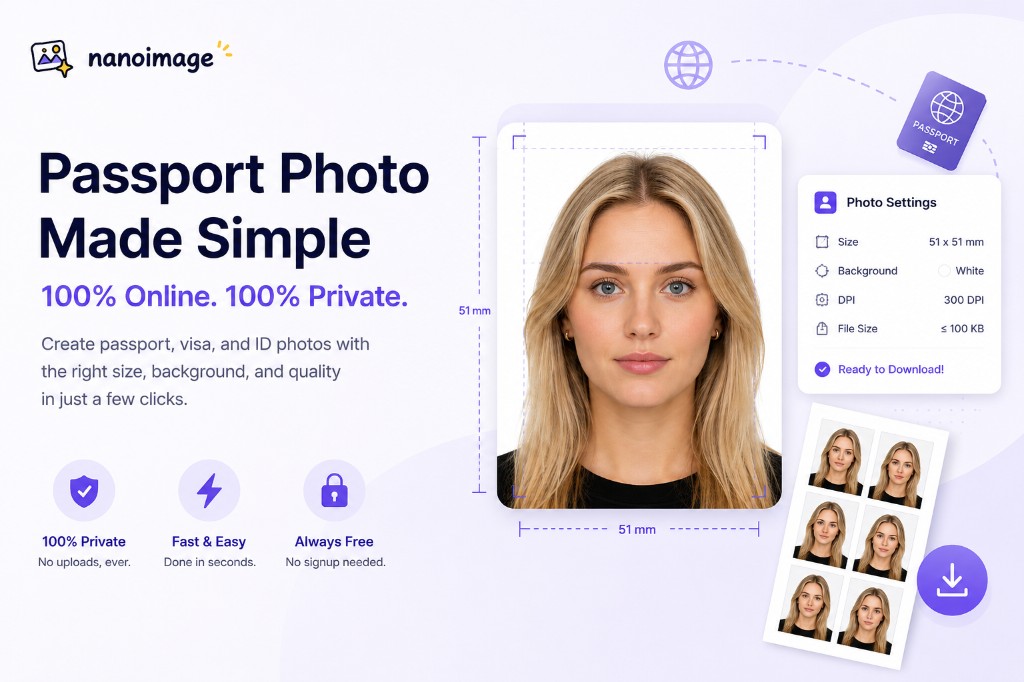
Compare passport photo requirements across major countries and regions, including size families, background rules, pixel guidance, and upload limits.
Read more →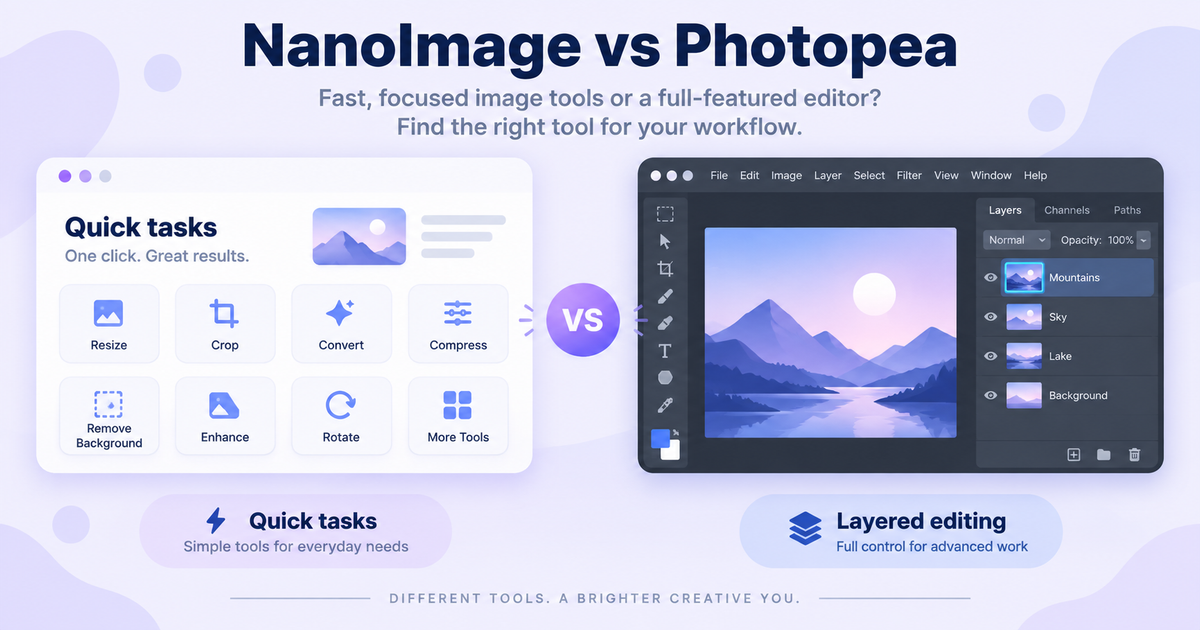
Photopea is a Photoshop replacement in your browser. NanoImage is a 15-tool quick-task suite. They're solving completely different problems — here's how to pick.
Read more →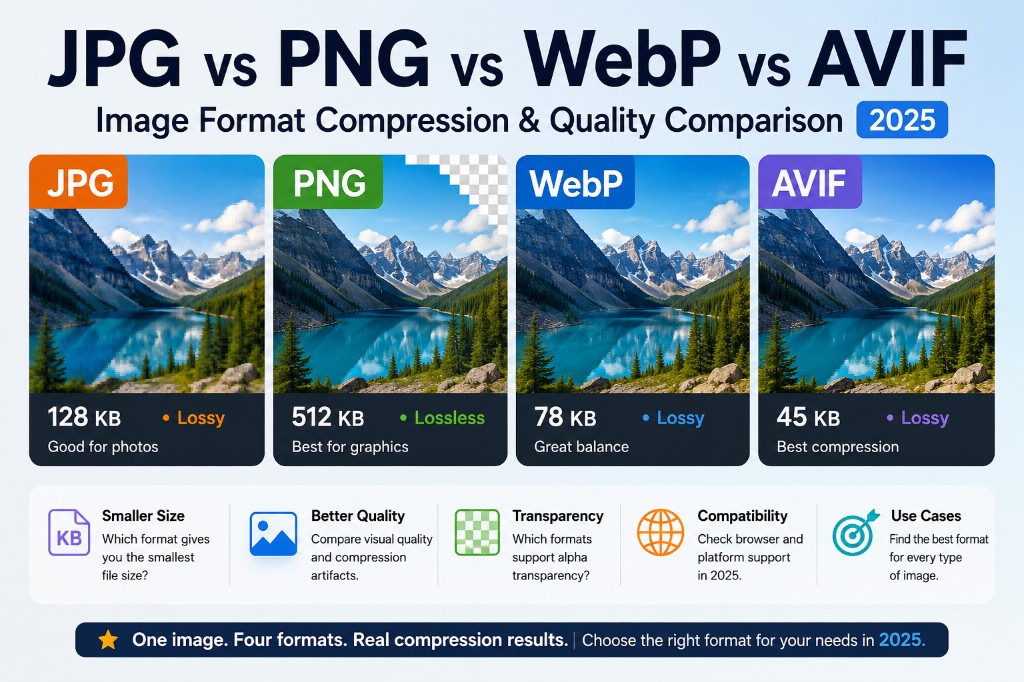
Compare real compression results for JPG, PNG, WebP, and AVIF to find the right format for your images.
Read more →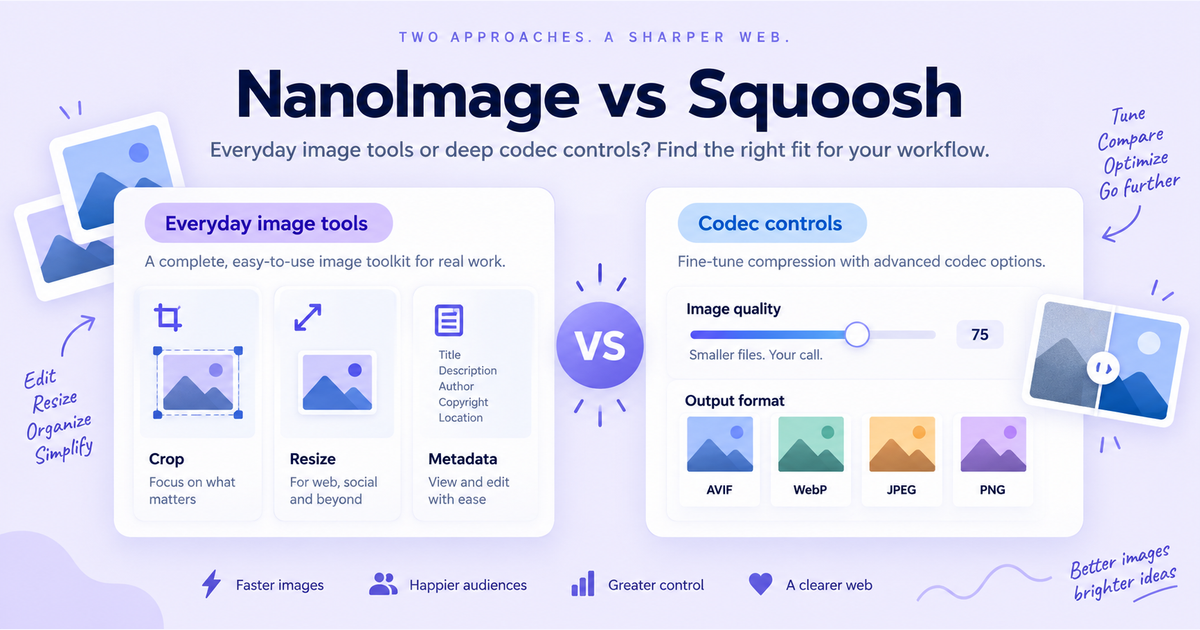
Both run 100% in your browser and respect your privacy. But they're built for different jobs. Here's when to use Squoosh and when to use NanoImage.
Read more →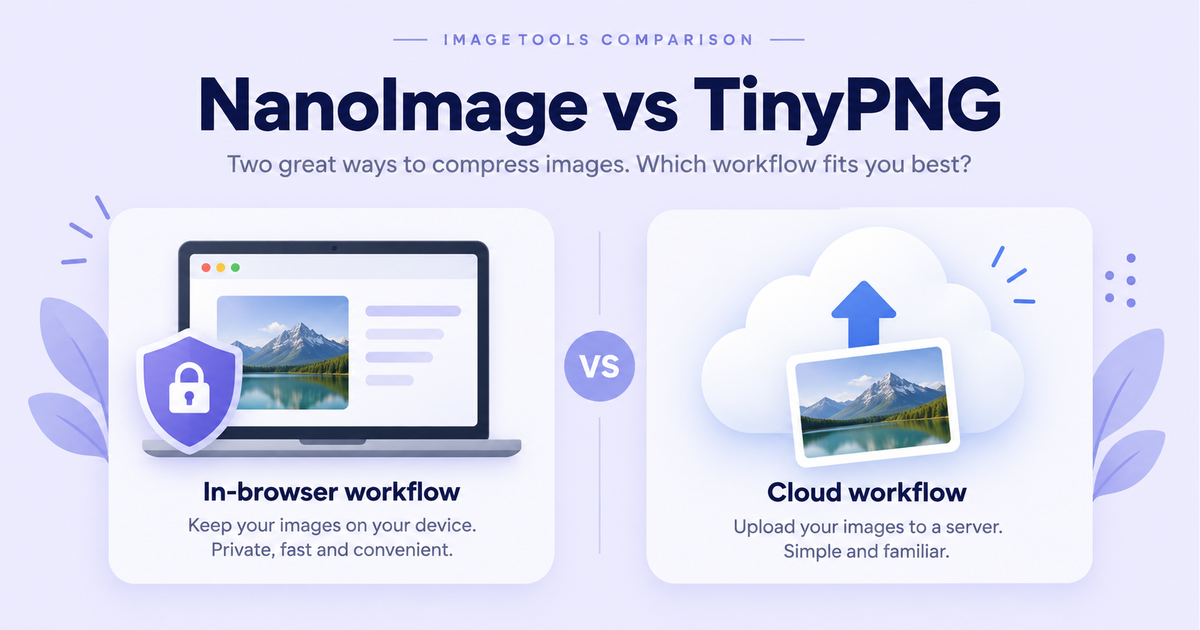
TinyPNG uploads your images to a server. NanoImage doesn't. Here's a head-to-head on speed, quality, privacy, and when each one is the right choice.
Read more →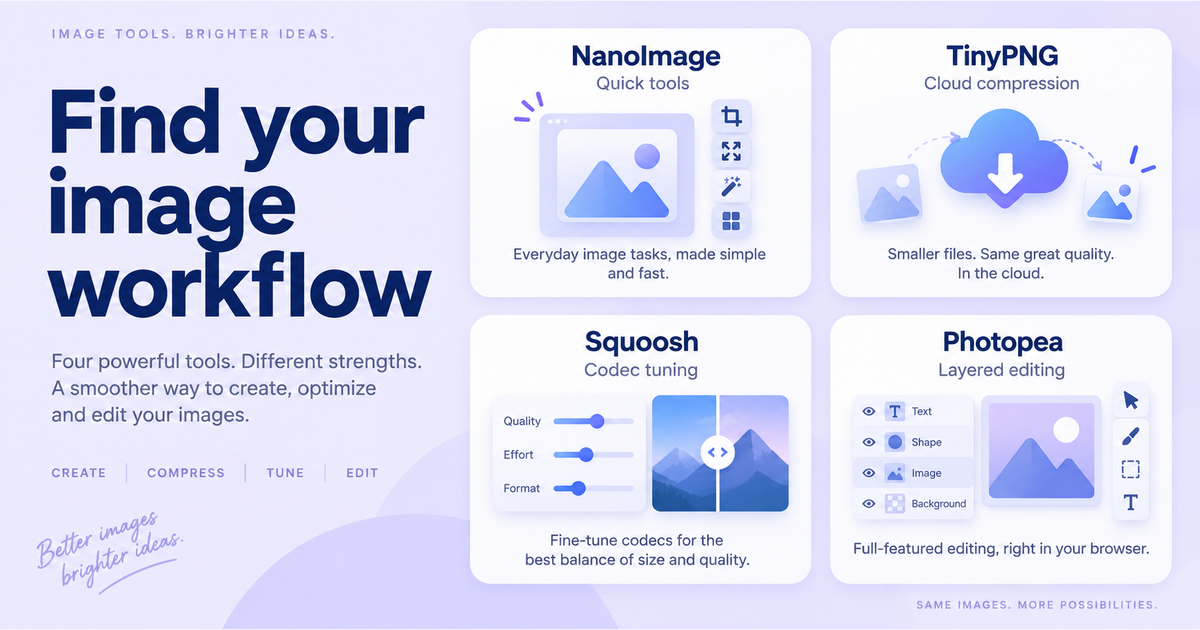
A hands-on, honest comparison of the four most-used free image tools on the web: NanoImage, TinyPNG, Squoosh, and Photopea — including where each one wins and loses.
Read more →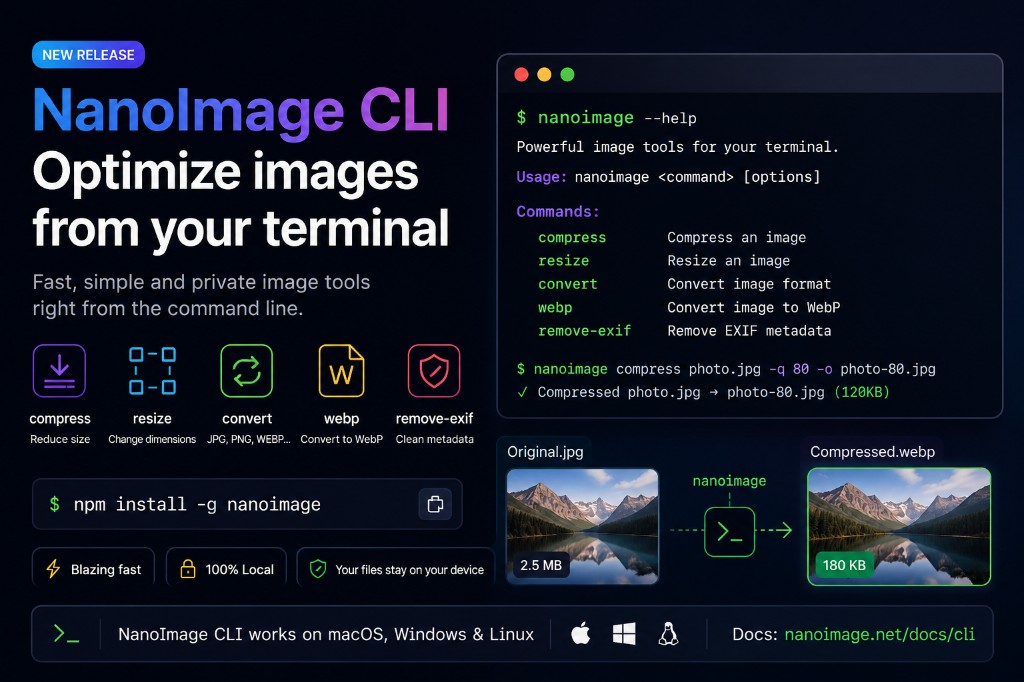
NanoImage CLI lets developers compress, resize, convert, convert to WebP, and remove EXIF metadata from images locally from the command line.
Read more →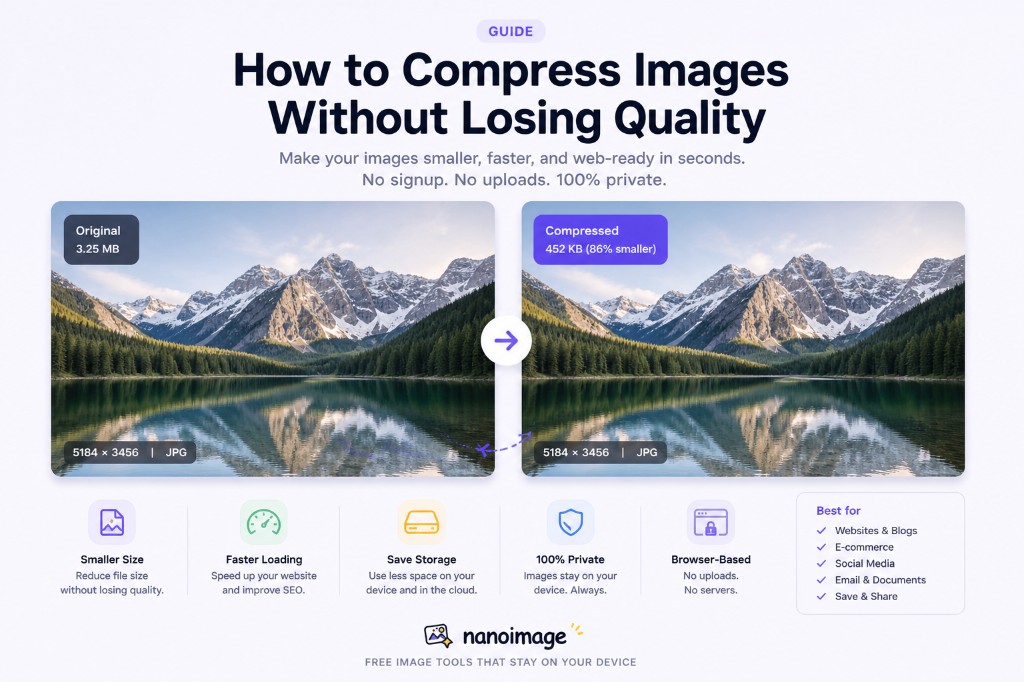
Learn how to compress JPG, PNG, and WebP images without losing visible quality.
Read more →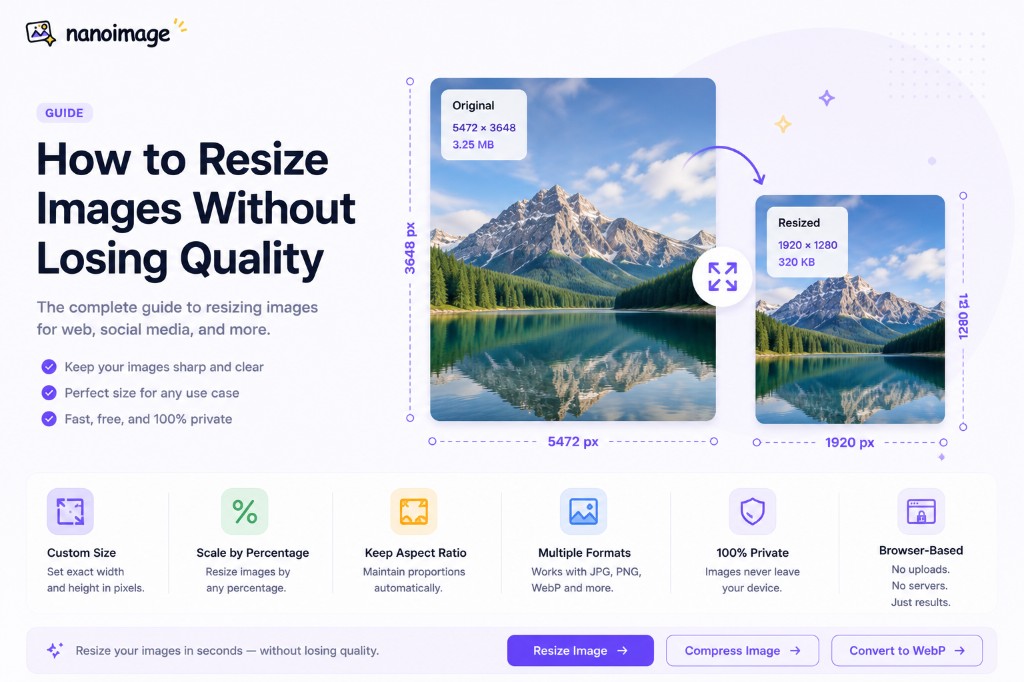
Learn how to resize JPG, PNG, and WebP images for websites, social media, email, and documents without making them blurry or distorted.
Read more →NanoImage has been redesigned around simple, free image tools that help people compress, resize, convert, crop, and clean up images directly in the browser.
Read more →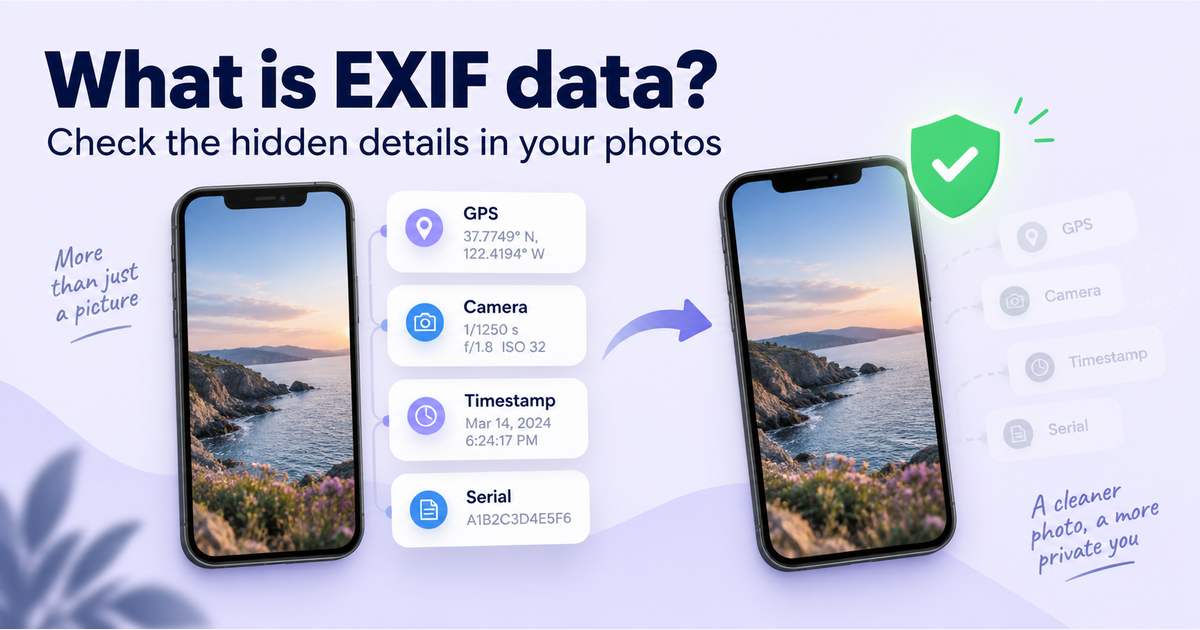
Photos can include camera, time, and location metadata. Here is what to know before sharing.
Read more →