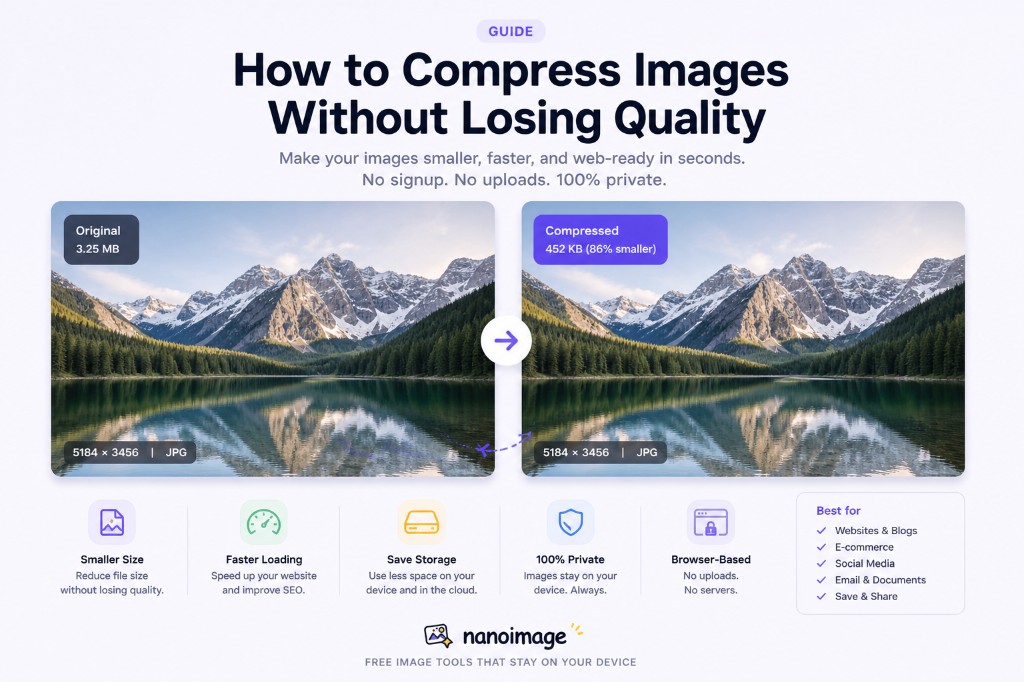
Large image files can slow down websites, make emails harder to send, and cause upload errors on forms, marketplaces, and social platforms.
The good news is that most images can be made much smaller without looking noticeably worse.
In this guide, we’ll explain how image compression works, when to use JPG, PNG, or WebP, and how to reduce file size while keeping your images clean and sharp.
What does image compression mean?
Image compression means reducing the file size of an image.
A smaller image file is easier to:
Upload
Download
Share
Store
Send by email
Use on websites
Add to documents or PDFs
Compression does not always mean making an image look bad. Good compression removes unnecessary data and reduces file size while keeping the image visually close to the original.
Why should you compress images?
Compressing images is useful in many everyday situations.
Faster websites
Large images are one of the most common reasons web pages load slowly. Compressing images can make pages feel faster, especially on mobile devices or slower connections.
Easier uploads
Many websites limit image file size. You may see upload errors when submitting profile photos, product images, documents, forms, or application materials.
Compression helps you stay under those limits.
Smaller emails and messages
Large attachments can be blocked or take a long time to send. Compressing images makes sharing easier.
Better storage
If you keep many screenshots, photos, product images, or design assets, compression can save a lot of disk space over time.
Lossy vs lossless compression
There are two main types of image compression: lossy and lossless.
Lossy compression
Lossy compression reduces file size by removing some image data.
This sounds bad, but it can work very well. A photo compressed at the right quality setting may look almost identical to the original while being much smaller.
Lossy compression is commonly used for:
JPG images
WebP images
Website photos
Social media images
Product photos
Lossless compression
Lossless compression reduces file size without removing visible image data.
This is useful when you need to keep edges, text, icons, or transparency very clean.
Lossless compression is commonly used for:
PNG graphics
Icons
Screenshots
UI images
Images with text
Transparent images
JPG, PNG, or WebP: which format should you use?
Choosing the right image format is one of the easiest ways to get a smaller file.
Use JPG for photos
JPG is usually best for photographs and complex images with many colors.
Use JPG for:
Camera photos
Product photos
Travel photos
Blog images
Large website photos
JPG does not support transparency, so it is not ideal for logos or cutout images with transparent backgrounds.
Use PNG for graphics and transparency
PNG is best for images that need sharp edges or transparent backgrounds.
Use PNG for:
Logos
Icons
Screenshots
UI elements
Transparent images
Images with text
PNG files can be larger than JPG, especially for photos.
Use WebP for smaller web-ready images
WebP is a modern format that often creates smaller files than JPG or PNG while keeping good quality.
Use WebP for:
Website images
Blog images
Product images
Lightweight web graphics
Images that need a smaller file size
WebP is a great choice when you want images to load faster online.
What quality setting should you choose?
Most image compressors let you choose a quality level.
A higher quality value keeps more detail but creates a larger file. A lower quality value creates a smaller file but may introduce blur, noise, or blocky artifacts.
A good starting point:
JPG: 70–85 quality
WebP: 65–80 quality
PNG: use lossless or optimized PNG when possible
For most everyday images, you do not need 100% quality. A setting around 75–80 often looks very close to the original while saving a lot of space.
How to compress images without losing visible quality
Here are practical steps you can follow.
1. Start with the right format
If your image is a photo, use JPG or WebP.
If your image has transparency, text, icons, or sharp graphics, use PNG or WebP.
2. Resize oversized images
Many images are much larger than needed.
For example, a phone photo may be 4000px wide, but a website article may only display it at 1200px wide.
Resizing before compression can reduce file size dramatically.
3. Use a balanced quality setting
Avoid setting quality too low. Start around 75–80 and preview the result.
If the image still looks good, you can try lowering it slightly.
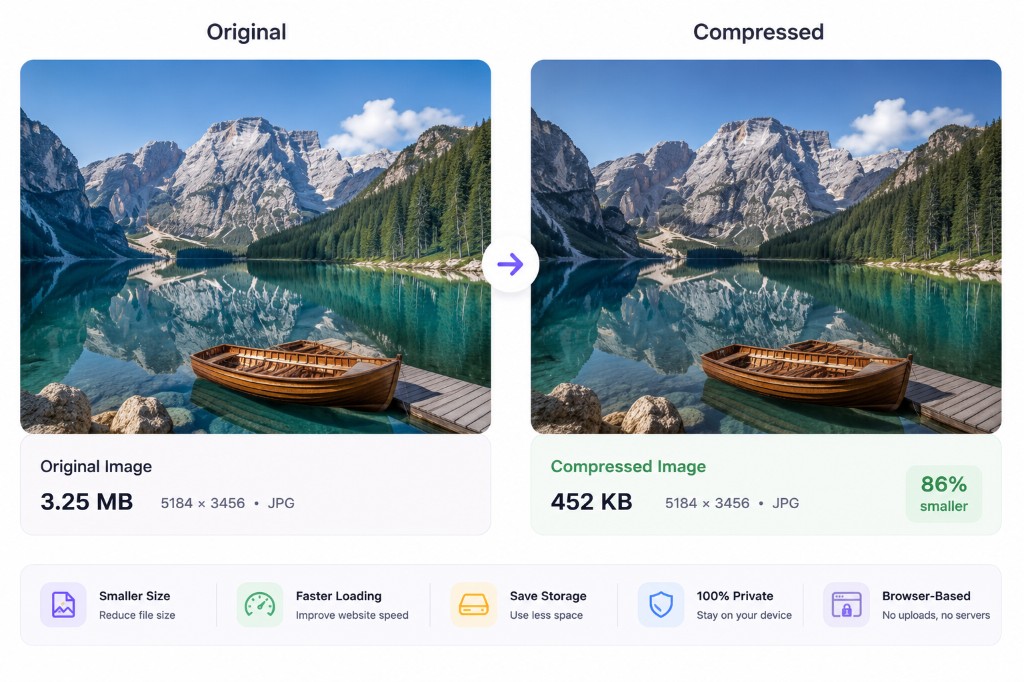
4. Compare before and after
Always preview the compressed version before downloading. Look for:
Blurry details
Blocky areas
Color banding
Text becoming hard to read
Edges becoming fuzzy
If you notice these issues, increase the quality setting.
5. Remove metadata if you do not need it
Image files may contain metadata such as camera model, date, and location. Removing metadata can reduce file size slightly and improve privacy.
For privacy-sensitive images, use a Remove EXIF tool before sharing.
Best compression settings by use case
Website images
Recommended:
Format: WebP or JPG
Width: 1200–2000px, depending on layout
Quality: 70–80
Remove metadata: Yes
Blog images
Recommended:
Format: WebP
Width: 1200px
Quality: 75–80
Remove metadata: Yes
Product photos
Recommended:
Format: WebP or JPG
Width: 1500–2000px
Quality: 80–85
Remove metadata: Optional
Email attachments
Recommended:
Format: JPG
Width: 1000–1600px
Quality: 70–80
Remove metadata: Optional
Screenshots
Recommended:
Format: PNG or WebP
Resize only if needed
Use higher quality if text must stay sharp
Common image compression mistakes
Using JPG for transparent images
JPG does not support transparency. If you convert a transparent PNG to JPG, the transparent area may turn white, black, or another background color.
Compressing the same JPG again and again
Repeated JPG compression can make an image worse each time. Try to keep an original copy and compress from that when possible.
Setting quality too low
Very low quality can create visible artifacts. If the image looks blocky or muddy, increase the quality setting.
Uploading huge images when a smaller size is enough
Compression helps, but resizing oversized images often saves even more space.
How to compress images with NanoImage
NanoImage makes image compression simple and browser-friendly.
Open the Compress Image tool.
Upload or drag and drop your image.
Choose a preset such as Recommended, Smallest Size, or High Quality.
Select an output format: JPG, PNG, or WebP.
Adjust the quality slider.
Preview the result.
Download the compressed image.
For multiple files, use Batch Compress to compress several images at once and download them as a ZIP file.
Do compressed images stay private?
NanoImage is designed to process core image tools in your browser whenever possible.
That means your images can be compressed locally on your device without being intentionally uploaded to our servers.
This makes NanoImage useful for everyday privacy-sensitive tasks, such as compressing personal photos, screenshots, or documents before sharing.
Final tips
Image compression is about balance.
You want the smallest file possible, but not at the cost of visible quality. For most images, the best result comes from combining three simple steps:
Choose the right format.
Resize the image if it is too large.
Use a balanced quality setting.
With NanoImage, you can compress images quickly, preview the result, and download smaller files in seconds.
Try it now
Use NanoImage to compress your images online for free.
Compress Image: /compress-image
Batch Compress: /batch-compress
Convert to WebP: /convert-to-webp